|
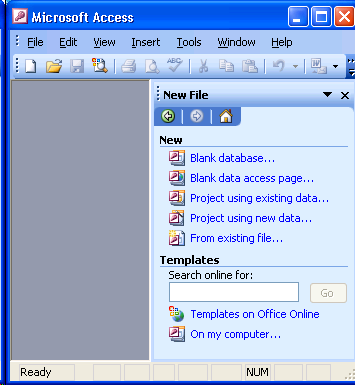
To create a new Access database, display the "New File..." panel by:
- Selecting File, New... from the menu.
- Clicking on the
 toolbar button. toolbar button.
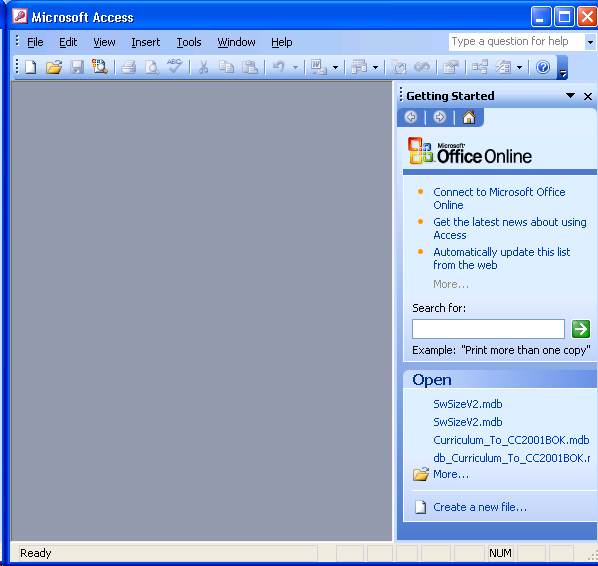
- Clicking on the "Create a new file..." link found at the bottom of the "Getting Started" panel.
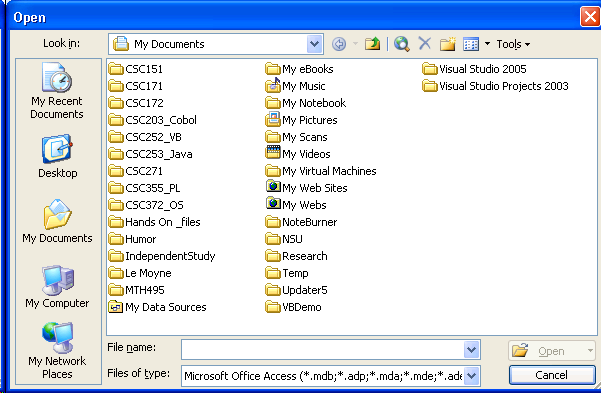
When you click the "Blank database..." link in the "New File..." panel, a "File New Database" dialog box is displayed. This dialog box allows you to identify the drive, folder, and file name for your Microsoft Access database.
Note the difference between creating a new Word or Excel file and creating a new Access file.
- With Word or Excel, you are immediately given an empty document that you may use. At some point in the future, you save the Word or Excel document to a drive, folder, and file name.
- With Access, you must first identify the drive, folder, and file name of the database file. After you've done this, you then create objects that are stored in this database.
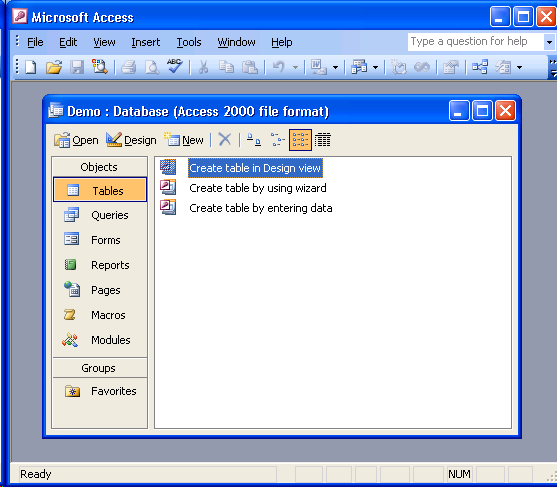
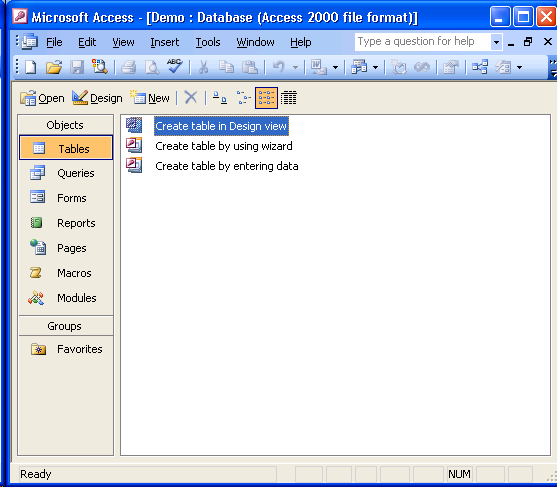
After you've created a new Access database file, the database window is displayed.
The other options in the "New File..." panel are not used in this class.
|
 toolbar button.